|
Case Studies
|
|
Listed here are a selection of case studies that demonstrate a mix of the equipment and services that Wildlife Windows is able to provide. Each new project is different, and we always enjoy the challenge of providing the best, most cost-effective solution to any wildlife-watching opportunity.
|
|
|
|
|
|
|
|
|
|
|
|
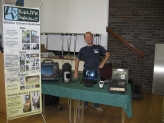
Private Wildlife CCTV System
Wildlife Windows has a growing number of clients who have wildlife cameras and screens in their own private properties. These systems can be very simple, for instance just a single camera connecting to a domestic TV, or quite elaborate with PTZ cameras, video projectors, long-distance wireless links and switching equipment to change between camera inputs.
Systems can start simple and be extended in phases. We will always try to build infrastructure that is easily expandable and future-proof. By having a camera 'hub' fitted it is possible to add cameras, move them around and swap them between seasons. It's wonderful to have a nestbox camera for the spring and summer, but outside the breeding season wildlife interest centres mainly on feeders for birds and mammals.
Some examples of what Wildlife Windows have provided for private clients include:
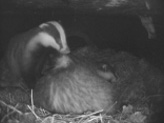
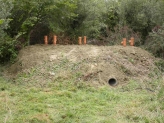
- Cameras for an artificial badger sett. Also we can design, build or project-manage the construction of the sett.
- Cameras for an artificial otter holt. As with the badger sett, we can design, build or manage the holt.
- Cameras in bird nest boxes suitable for fixing to a house. These include boxes for cavity-nesting species (blue tits, great tits, sparrows, starlings), swallow and house martin cameras and nest cups, swift boxes, external barn owl boxes or IR cameras for roof space barn owl nesting chambers.
Naturally, the type of camera or wildlife housing we can provide depends on what habitat is available on or near the property. We will not supply or recommend any form of wildlife camera unless we believe there is a good chance of attracting the target species.
|
|
|
|
|
|
|
|
|
|
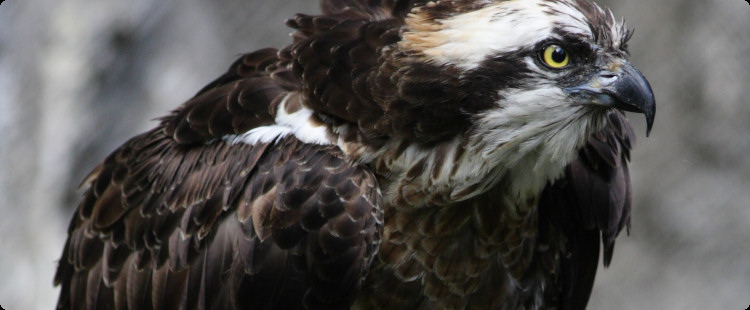
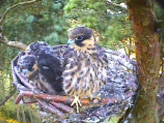
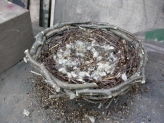
Raptor nest monitoring
One of the Directors of Wildlife Windows (Jason) has a great interest in raptors, especially Hobbies, which are the subject of this case study. Jason is very good at selecting suitable sites for his hand-crafted Hobby nest baskets. He can install them too, using well-honed tree-climbing skills (with ropes). Although the case study is about Hobbies, the rare mix of expertise it demonstrates can easily be applied to other species.
The use of nesting baskets for species such as Hobby or Long-Eared Owl, makes it possible to show these species to a wider audience than the handful of raptor ringers who alone enjoy this privilege. Video cameras can be pre-installed with nest baskets, and if a basket is used, its camera can be connected to video recorder or viewing screen.
To begin a project on Hobbies, the first step is to determine whether the area already has a breeding population and whether the habitat at the chosen site is suitable. Wildlife Windows can advise on this, initially without having to visit the site.
If the site is suitable, the next step would be for Jason to visit and select trees and install baskets. Cameras with cables trailing to the base of the tree can be installed at the same time, or this can be left until later in the season. |
|
|
|
|
|
|
|
|
|
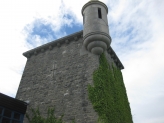
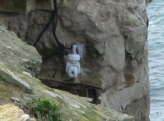
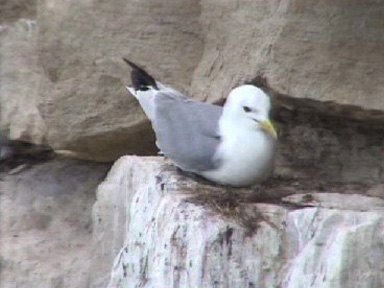
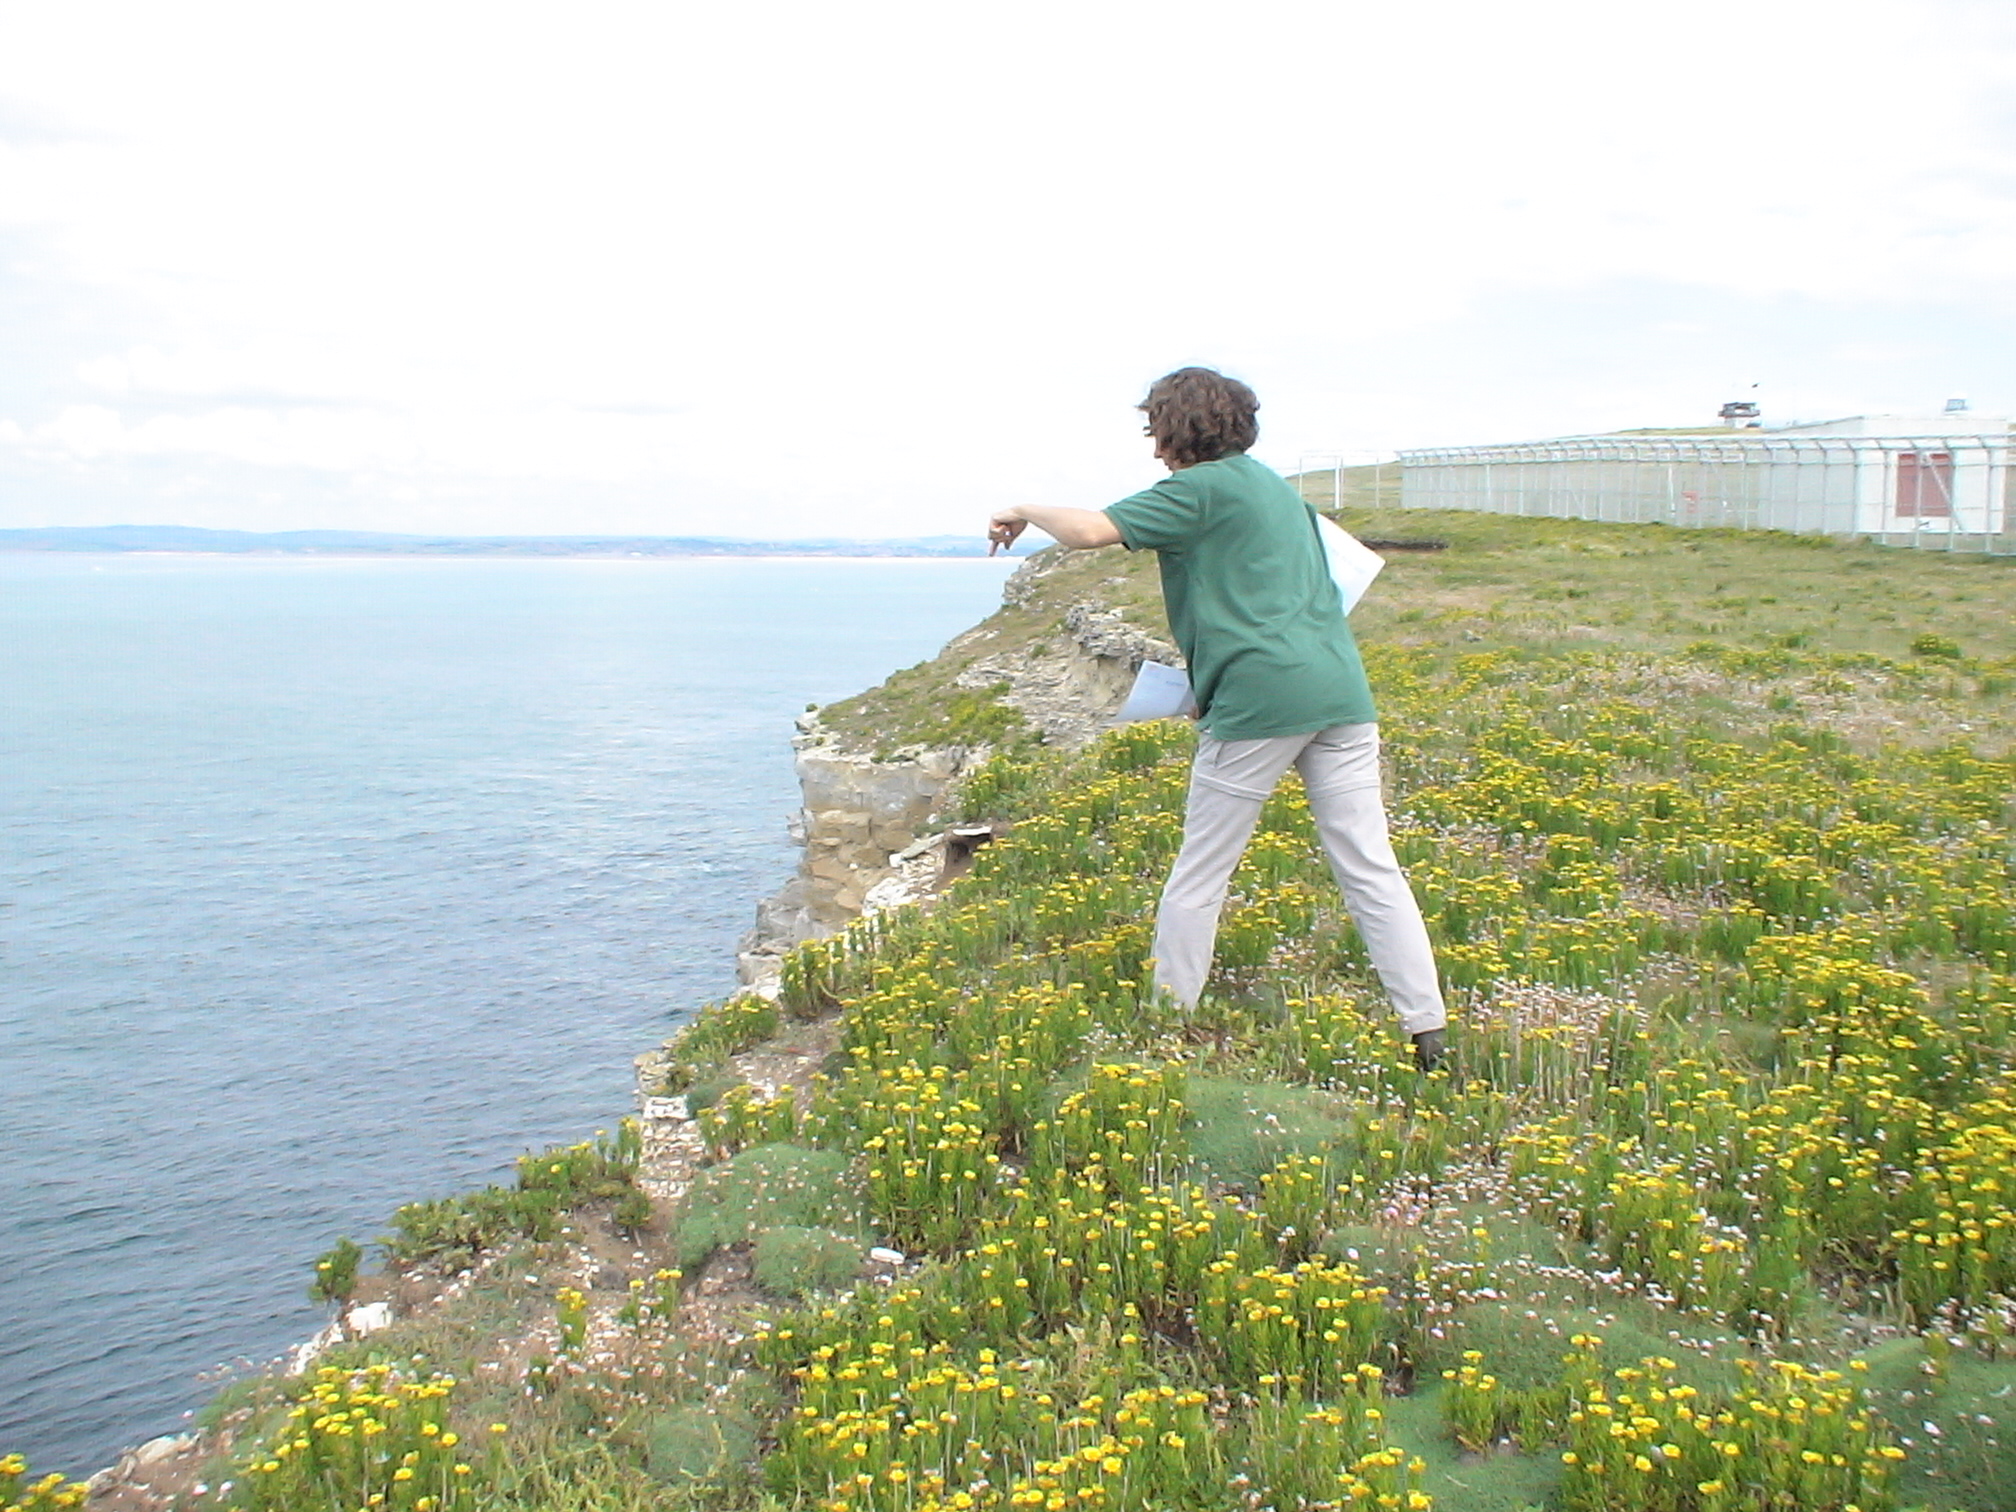
Seabird colony camera
This case study describes a PTZ (pan-tilt-zzom) camera located on a cliff looking out over a colony of
breeding seabirds. It was a particularly demanding installation, not just because of the extreme environment of the
camera....
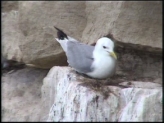
Fitting a PTZ camera to this particular cliff was a wonderful idea, looking out as it does over a breeding colony of
guillemots, razorbills and kittiwakes. However, fixing a camera to the cliff face was only the
start.
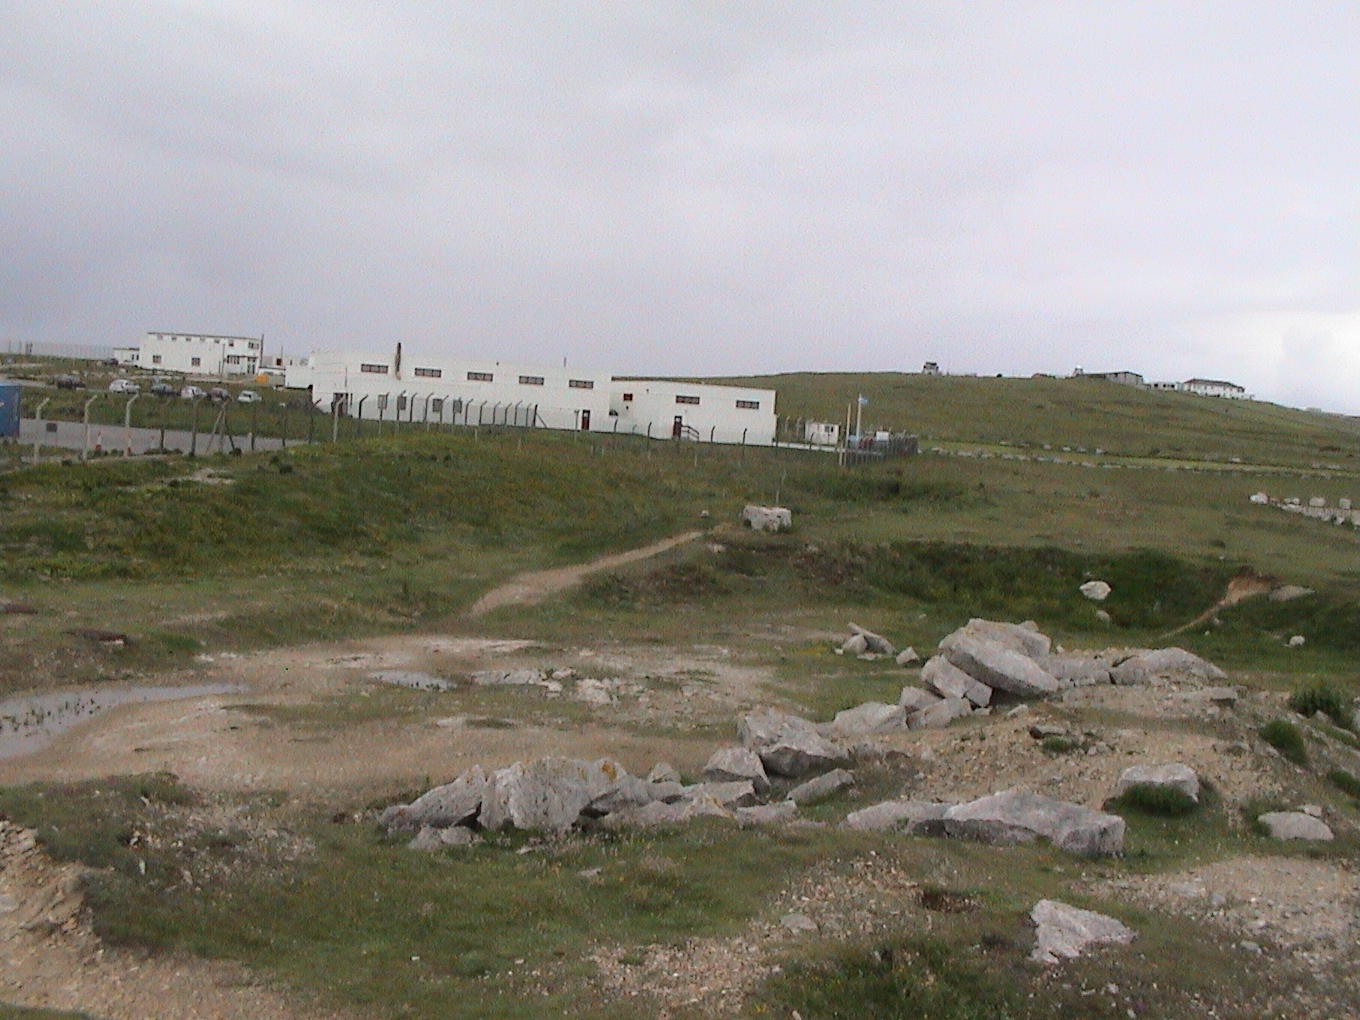
 Video data had to be conveyed to a viewing point in a nearby
visitor centre, and PTZ commands needed to go in the other direction to control the camera. The distance between the camera and
the visitor centre was only about 400m, but because the site was adjacent to a radar research facility, a radio link was not allowed, nor
even copper wires. To avoid risk of interference with sensitive test & measurement equipment, a fibre-optic link had to be
installed between the top of the cliff and the visitor centre. Video data had to be conveyed to a viewing point in a nearby
visitor centre, and PTZ commands needed to go in the other direction to control the camera. The distance between the camera and
the visitor centre was only about 400m, but because the site was adjacent to a radar research facility, a radio link was not allowed, nor
even copper wires. To avoid risk of interference with sensitive test & measurement equipment, a fibre-optic link had to be
installed between the top of the cliff and the visitor centre.
Installing fibre-optic cable is quite routine, and Wildlife Windows
works closely with a specialist contractor (Fibre Options), who we know and trust. But there was a complication in this case - the
substrate in which the fibre had to be buried was solid rock.
It was hard work laying the cable, but when done it was safe and
secure and the data interface electronics could be added at each end.
 The key elements of the system are as
follows: The key elements of the system are as
follows:
- PTZ camera 10ft down from the top of a 90ft cliff. The camera mounting is a purpose-built stainless-
steel structure, bolted to a clean vertical rock face.
- Over-ground cable over a short distance up the cliff from the camera to a
connection box a few metres back from the edge of the cliff.
- The connection box on the cliff edge houses power supply and other
electronics, and is connected via a longer (40m) cable to a cabinet where mains electricity is available and where the fibre optic interface
is installed.
- A mains electricity cable runs from the research centre to the interface cabinet.
- All cameras, electronics
boxes and cabinets, cables and connections have to be able to withstand long-term exposure to one of the most extreme environments in the
UK. The site is subject to high winds and salt-water spray. Only the most rugged, IP68-rated equipment, specified for marine
environments had to be used.
Access for positioning and servicing the camera is
seasonal. So as not to disturb the birds, camera visits are scheduled in spring, prior to the start of the breeding
season. The camera can be accessed again when the seabirds have finished breeding in late summer.
|
|
|
|
|
|
|
|
|
|
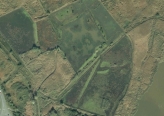
Wetland Nature Reserve - complete wildlife camera system
At this nature reserve in southern England, Wildlife Windows has built a
fully-featured wildlife camera system. This includes analogue and digital (WiFi) radio links to distant cameras, remote switching via a
touch-screen, innovative nestbox cameras and a portable bat-watching camera, pond dipping camera, waterproof video recorder and ruggedized
portable screen.
The installation of wildlife cameras at a nature reserve usually takes place in stages, often over several
years. Reserve managers like to
try one or two 'safe' cameras to start with, and when they see the results,
they want to
expand the system, often in very imaginative ways.
The site that is the subject of this case study has followed the usual
evolution, and is now highly innovative and somewhat experimental. It will be a year or two before the full benefits are seen, as the
birds discover their new accommodation and the system is further developed and expanded to optimise performance and minimise maintenance.
Visitor Centre
As usual with nature reserve installations, the visitor centre
is the hub to which all audio and video data from wildlife cameras are conveyed.
There are two screens with speakers; one is a
large format LCD TV mounted on a bracket on the wall, the other a touch-screen LCD. The touch-screen is built into in a bespoke cabinet
(built by us), which also houses speakers, a computer and some storage space.
The touch-screen LCD displays images from four remote
cameras set inside a sand martin wall. Visitors are able to select which camera to watch by touching a graphic (virtual button) on the
screen [photo]. A large central window displays real-time video images from the sand martin nests and a small text window below
describes what can be seen. The text changes, depending on which virtual button is pressed, and can be edited easily by visitor centre
staff.
It is also easy for visitor centre staff to change the text on each of the virtual buttons or to disable them if there is
nothing interesting happening on that channel (e.g. if the nest is empty).
Because the screen format and virtual buttons are all set
by software, it will be relatively easy to change the display, for instance to show images from cameras other than those in the sand martin
wall.
Transmission Infrastructure
Each of the four cameras in the sand martin
wall is connected to its own channel on an AV switcher also located at the wall. The switcher and cameras are linked to the visitor
centre using WiFi over a distance of about 800m. This provides a means
to get AV data back to the visitor centre and control
signals to the
switcher to select which of the four cameras is displayed.
A portable analogue radio link is used to transmit AV
data from distant nest boxes to the LCD TV.
There is a standard nest box (e.g. for blue or great tits) fixed to one side of the
visitor centre. Sound and video from this are conveyed by cable, as is power for the nestbox camera.
Most of the cameras
are some distance from the visitor centre and mains power. These have to be powered by 12V leisure batteries, which necessitates some
maintenance (i.e. swapping and charging batteries). Running cables to these cameras is high on the list of future expansion
projects.
Fixed Cameras
There are four miniature video cameras installed
inside nest chambers in the sand martin wall. Since there are many more nest chambers than cameras, and we don't expect all chambers
to be occupied, we have designed the cameras to be easily swapped between them.
Two camera-ready tit boxes have been installed
on the reserve, one on the visitor centre and one elsewhere on the reserve.
Two cameras have been installed in bearded tit wigwams
(nestboxes) that we designed specially for this project.
Portable
Cameras
There are three portable video cameras, configured specifically for this project. They are:
Bat
Camera: This is a monochrome 'bullet' camera and IR floodlamp mounted on a handle, to be used in conjunction with our FieldScreen to
watch bats. The FieldScreen also powers the camera.
Pond Dipping Camera: This is a specially adapted submersible colour
camera with white LED lighting, mounted on the end of an expandable fibre-glass pole. It's purpose is for pond dipping, to show
aquatic creatures in their proper habitat. We regard this equipment as additional to conventional pond dipping, not as a
replacement for it. Trawling in a pond with a net and sorting through the contents for invertebrates is as a very important part of the
pond-dipping experience. The pond dipping camera is designed to be connected to our FieldScreen, which powers the camera and displays
live video from it.
Otter Camera: This is another 'bullet' camera, with IR lighting. The camera is colour during
daylight, but switches automatically to monochrome in low light. The IR lamps are separate from the camera, to allow their position to
be optimised for each installation.
We supply a purpose-built adjustable stand and splash-cover (the camera is
waterproof, but you need to keep the lens free of water droplets).
The camera can be used with any Composite Video viewing
device, including our FieldScreen, but is intended to connect to our Ruggedized Video Recorder, and left unattended to record video of
passing otters.
Although supplied for filming otters, this camera can
be used for any outdoor, stationary camera application, such
as watching
badgers or foxes at a feeding station, or birds on a bird table etc.
Portable Outdoor Screen (FieldScreen) and Video Recorder
The piece of equipment that we have found most useful over
the years - mainly for guided walks - is our own specially-designed 'FieldScreen'. This is a daylight viewable 12" LCD screen in a
very rugged Peli case with its own internal battery that powers both the LCD and cameras that are connected to it. The nature
reserve in this case study has a FieldScreen, which is used with the pond dipping camera and the bat camera, as well as to check and adjust
various other cameras that aren't permanently connected back to the visitor centre.
To record otters and other transient and shy
nocturnal creatures, Wildlife Windows has configured a portable video recording system comprising a waterproof Peli case, digital video
recorder and various leads and connectors for autonomous deployment with an internal or external rechargeable battery.
The digital
video recorder has sophisticated movement recognition software that triggers video recording when there is a change in the images coming from
the camera, such as when an animal moves into view.
|
|
|
|
|
|
|
|
|
|
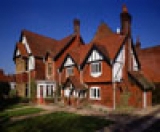
Wildlife hide with artificial sett for badgers
This wildlife hide has direct views of bird feeders and a badger run, cameras in an
artificial sett for watching badgers underground, a PTZ camera to follow badgers foraging above ground, cameras on peanut feeders and in nest
boxes for close-up views of local birds, and wireless links to distant buzzard and barn owl nests.
Background
This complex wildlife camera installation has been evolving over the past 5 years. It was the
ambitious idea of an innovative Dorset farmer who wanted to provide "something different" for guests at his farm holiday cottages.
Wildlife Windows have been involved with the project since its inception, and in the early stages, Eco-Watch also played a major
role.
Hide and Glade
The heart of the system is a wildlife hide with large
windows overlooking a woodland glade. There are bird feeders close to the window, a small pond and, at the far edge of the glade, an
artificial sett. There is a large natural sett in coppice next to the glade, and a variety of interesting bird species breeding
elsewhere on the farm.
Visitors to the hide can watch wild birds and mammals directly through the large windows, and also on
three screens linked to the various cameras, which change with the seasons. There are controls that visitors can access, to
operate the PTZ camera and to switch between available cameras (there are usually more cameras than screens) and, outside the breeding
season, to watch previously recorded footage.
Badger Cameras
The
artificial sett has monochrome cameras with infra-red lamps and microphones, one in each of the three chambers. The cameras, lenses and
lighting are specified and positioned to give a great view of the entire chamber, with excellent depth of focus to provide crisp pictures
even when the badger is very close to the camera.
The sett cameras need cleaning occasionally; they can be removed via tubes from the
outside of the sett. So as not to disturb the badgers, this has to be done when none are in residence.
There is also a
monochrome camera with IR lamp looking onto an entrance of a nearby natural sett.
A PTZ camera on a pole in the centre of the glade
can also be used to watch badgers when they enter the glade. The camera is colour, but switches to monochrome at low light levels (e.g.
at dusk). At the same time, IR lamps are automatically activated so the camera can be used in total darkness.
With the
PTZ camera it is easy to zoom in for close-up views of foraging badgers in daylight (in summer they emerge before twilight) or in the
dark. The badgers can usually be seen directly out of the window, but not as close as with the PTZ camera.
Bird Cameras
There are several small nest boxes on the hide and in the glade, as well as a kestrel box
in a nearby beech tree. These have cameras fitted when (or before) there are birds breeding in them. The small boxes are
usually wired to the hide all year round, because during the winter, small birds often roost in them.
A peanut feeder in the glade is
fitted with a colour camera that provides 'nose to beak' close-ups.
Viewing and
Controls
In the control room in the centre of the hide, the incoming AV signals can be swapped around and routed to
different screens or to a digital video recorder, which is used to
collect video for showing in autumn and winter. The equipment
required to accomplish this comprises a patch panel, where cables are connected to select incoming sound and video, an AV switcher and an AV
distribution amplifier. These devices together allow a combination of any camera being routed to any of the three screens.
Visitors do not have access to the control room, but can operate a PTZ control panel and a set of vandal-proof switches that route
active cameras to one of the LCD screens.
The PTZ control is a robust membrane keypad with left-right (Pan), up-down (Tilt), in-out
(Zoom) and near-far (focus) buttons.
Three screens are installed in the hide, one dedicated to the PTZ camera, one to the barn
owl nest and the third to the switching system, which takes AV feed from all the other cameras.
Transmission systems
The badger cameras and nearby bird nest box cameras connect directly via coax cables into the
small control room in the centre of the hide.
There is a 250m underground conduit to the farmhouse, where house martins and
swallows nest. Video and audio signals are transmitted from the farmhouse Hirundines to the hide via a special, long-distance, active
video system. Images from the glade can be transmitted in the opposite direction, where they can be watched/recorded and uploaded to the
Internet by the owner of the farmhouse.
Audio and video from the barn owl box camera are transmitted over about 300m via a wireless
link, as are AV signals from a camera on a buzzard nest in woodland about 1km from the hide. Both cameras and their transmitters
are powered by 12V lead-acid batteries, which need charging about once a week. Solar panels have been used to help extend the period
between battery changes on the barn owl camera.
|
|
|
|
|
|
|
|
|
|
|
| NATIONWIDE OPERATION |
|

Wildlife Windows will install systems anywhere in the UK.
"Every wildlife camera project is different and we enjoy the challenge of designing the best and most cost-effective system".
|
|
|